A Practical Guide to Hiking Everest Base Camp Solo
Before traveling, I did a bit of research and found a lot of contradicting information about doing the trek alone. Additionally, I didn’t find a guide that resonated with me. That’s why I wanted to create this blog entry — to help others with a clearer perspective.
The Everest Base Camp (EBC) trek is one of the most popular high-altitude treks in the world. While many people opt for guides and porters — which is a valid way to travel and helps support the local infrastructure — doing it alone is entirely feasible if you’re reasonably fit and ready to embrace a bit of adventure. The morality of using porters or guides will not be discussed here, as it should be a personal decision everyone makes for themselves.
Why Do EBC Alone?
First things first: Trekking alone gives you freedom and also time for yourself. You set your own pace, make decisions on the fly, and spend more time enjoying the solitude of the mountains. The trail is well-marked, and you’ll find plenty of trekkers along the way, so you’re never truly alone. When it comes to costs, trekking solo is definitely a bit cheaper but you’d be surprised that it does not save that much money. Most traveling agencies offer really competitive pricing and you should definitely not only do it to save a few bucks.
Is Everest Base Camp Worth It?
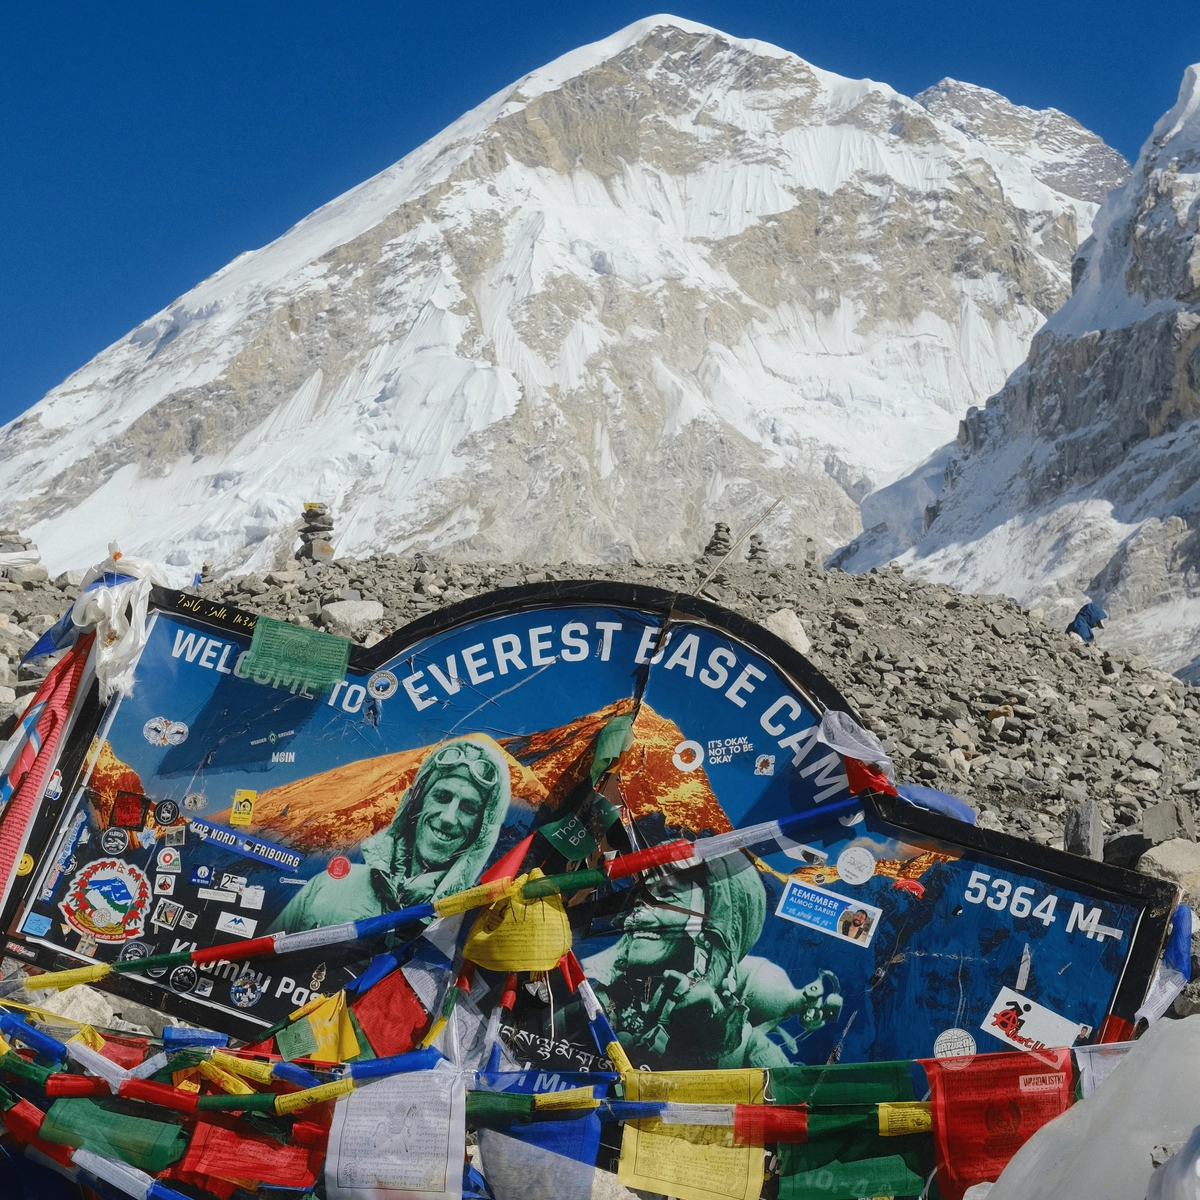
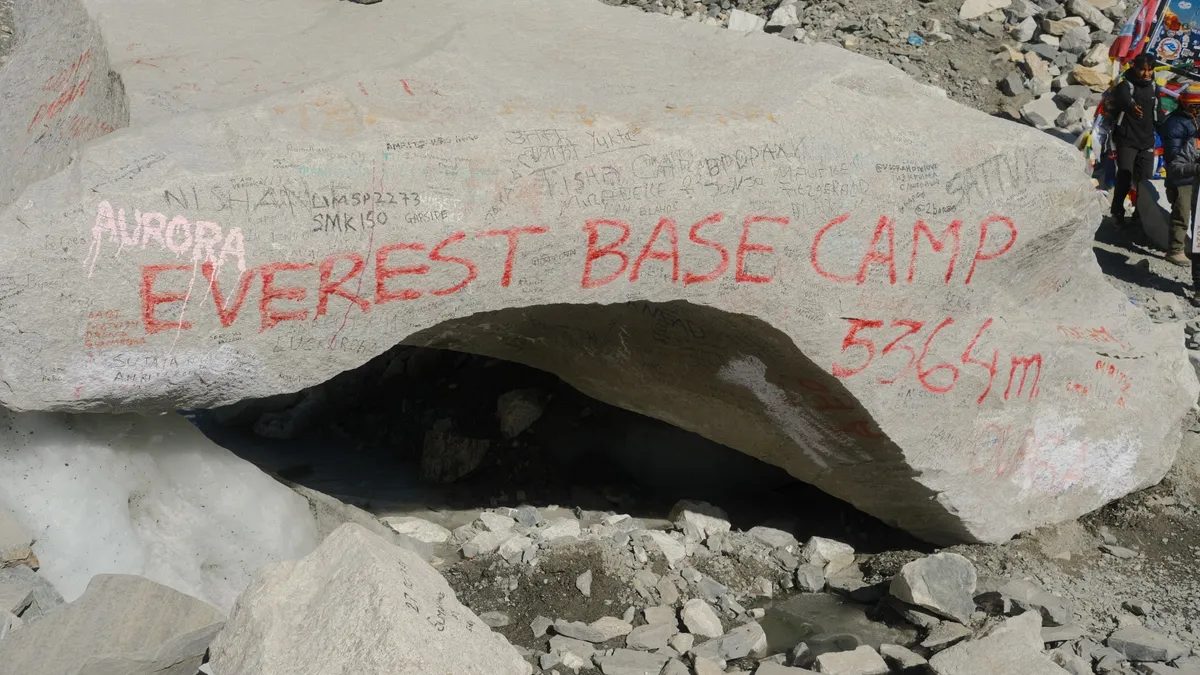
To be honest, EBC itself can feel underwhelming. The base camp is a rocky, barren area with colorful prayer flags and views of the Khumbu Icefall. You won’t get the best view of Mount Everest from here, which can make it feel anticlimactic.
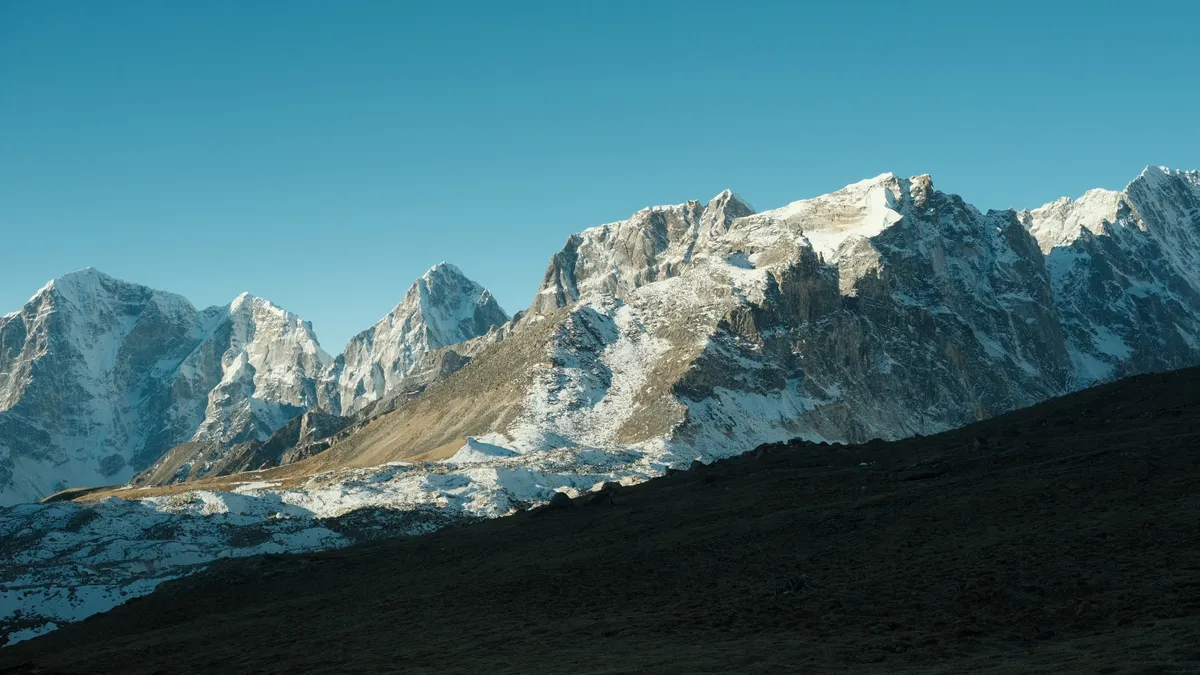
The real magic in my opinion is Kala Patthar. If you hike up in the early morning hours (starting around 3 AM), you’ll be rewarded with spectacular sunrise views of Everest and the surrounding peaks. It’s tough but absolutely worth the effort. While on the trek I also heard a lot of really good things about Gokyo. So if you have more time, look into this as well. Apparently, it’s even better than Kala Patthar.
Fitness Requirements for a Solo Trek
If you can:
- Run 10km without stopping
- Spend 30 minutes on a stairmaster
You should be physically prepared. However, mental endurance is just as important. Trekking at altitude can be challenging, and the thinner air means you’ll need to pace yourself and acclimatize properly. Trekking alone also means that you need to carry your own stuff, so get used to some back/ shoulder pain in the evenings.
You’ll also notice plenty of other trekkers along the way who may not be as fit, but they manage well with the help of guides and porters. The EBC trek is doable for many fitness levels, especially if you’re okay with hiring a porter.
Pre-Trek Preparation
Before you set foot on the trail, spend a couple of days in Kathmandu:
- Try regional food: This serves two purposes:
- You experience the local cuisine.
- If you’re unlucky enough to get food poisoning, better to get it out of the way before starting the trek.
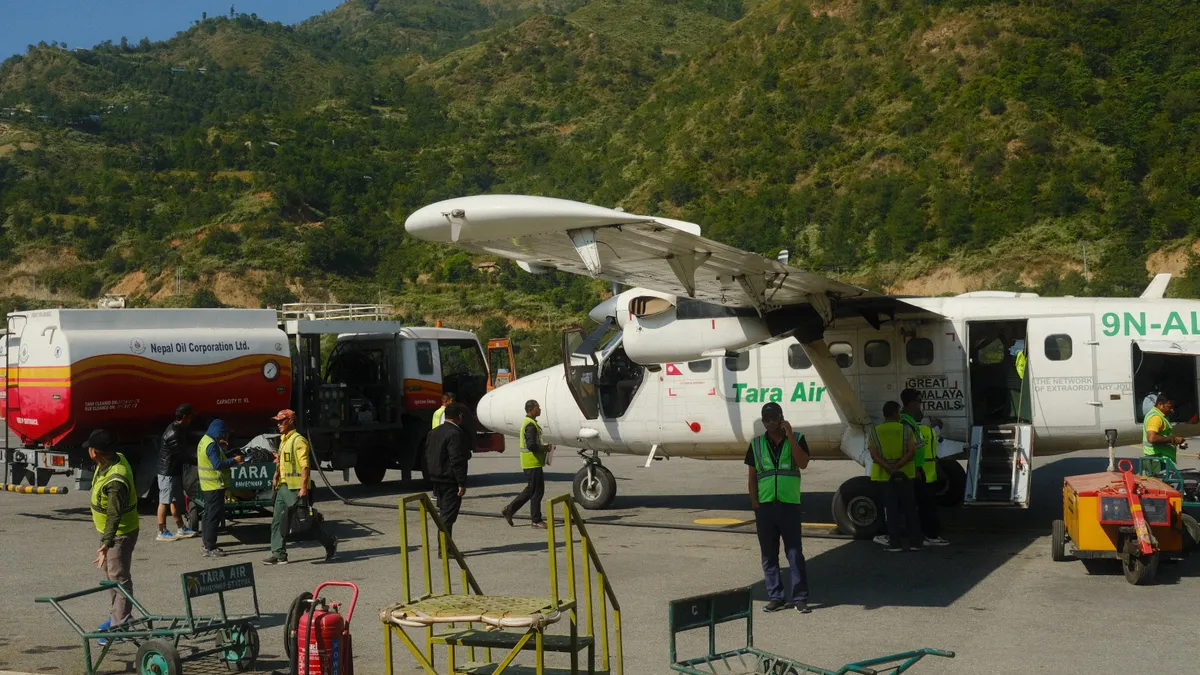
- Flights: Book flights to Lukla early in the morning. Weather conditions at Lukla are unpredictable, and early flights have the best chance of taking off. Delays and cancellations are common, so always plan buffer days in case of disruptions.
Packing for the EBC Trek
Packing smart is essential. Keep it light, but make sure you have the essentials. If you find something unnecessary, you can leave it in Namche on the way up.
What we did was that we left some stuff in Kathmandu at our hostel and after trekking for 3 days, we left even more stuff in Namche. This seemed to be a very common thing to do as both venues had storage rooms with loads of gear from hikers.
Packing List
Do not expect that you need to have everything right from the start. Along the trail you will encounter numerous shops. Tbh most of them sell bootleg gear but you can also find some genuine ones in Namche (The North Face and Columbia).
-
Clothing
- 1-2 base layers (merino wool recommended)
- 1 insulated down jacket
- 1 waterproof shell jacket
- 2-3 sport shirts
- 1 trekking pants
- Warm gloves and a beanie
- Sunglasses with UV protection
- A buff is recommended because the air is very, very dry and a lot of people develop something known as the “Khumbu” cough
-
Footwear
-
Warm socks (3-4 pairs)
-
Flip-flops or crocs for showering and lounging in the tea houses
-
Comfortable hiking shoes
Trail runners or lightweight hiking boots work fine — many trekkers, used Salomon trail shoes or even running shoes without issues. I used some heavy Hanwags and they were a bit overkill for the weather we’ve encountered.
-
-
Gear
- A good backpack (30-40L is sufficient)
- Sleeping bag rated for -10°C (many lodges don’t provide adequate blankets)
- Trekking poles
- Headlamp
-
Toiletries
- Toilet paper (you can buy more along the trail)
- Soap and wet wipes (running water is sparse after Dingboche)
- Quick-dry towel
- Hand sanitizer
-
Extras
-
Diamox (12-15 tablets)
This is a medicine that can prevent and treat altitude sickness. Buy this at official pharmacies and take half a tablet a day if you feel your first pins and needles.
-
Reusable water bottle and water purification tablets
We asked for hot water every night and put the Nalgene bottles into our sleeping bag for extra coziness.
-
Snacks (energy bars, nuts, etc.)
-
Cash (€30-40/day)
The last ATM is in Dingboche. So you should never really run into big problems. Paying by card is not an option at most places.
Keep in mind that ATMs in Nepal have withdrawal limits (45k npr) and high fees (€4-5 per transaction). Try to bring cash from home if possible to avoid these hassles.
-
Facilities Along the Trail
- Laundry: You can do laundry in Namche and Dingboche, though it’s better to pack light and hand - wash small items as needed.
- Running Water: After Dingboche, running water isn’t guaranteed. You’ll often need to flush toilets with a bucket and use cold water for washing.
- Internet: Internet access is sparse and often costs extra. Enjoy the disconnection!
- Food: The menu along the trail is generally the same in every village, with staple dishes like dal bhat, noodles, and fried rice being the norm. There are also some western options available, such as burgers (quite good), pizza (best avoided), and pasta (surprisingly good). Due to the altitude, many trekkers, including myself, experience a reduced appetite, so expect to eat less than usual and possibly lose some weight. The food selection can get repetitive, so bringing some of your favorite snacks can help break up the monotony.
- Sanitation: Be prepared for (very) basic sanitary conditions. If cleanliness is non-negotiable for you, you might find this trek challenging. Especially after Dingbonche the conditions are… dire.
- Showers: Most tea houses below 4,000m have solar showers. This means if you come late and the sun is already set, you either skip showering or you’ll have an unpleasant time.
Route Breakdown
Day 1: Lukla → Phakding
- Distance: 7 km
- Duration: 3-4 hours
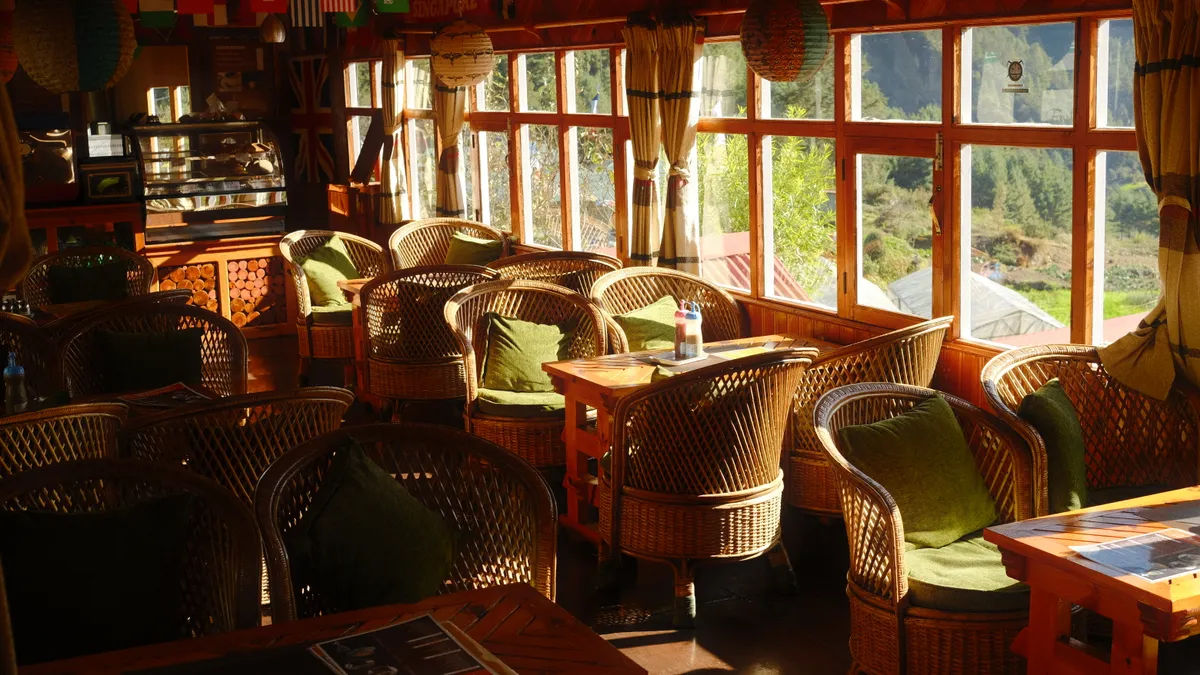
- Trail Overview: A gentle introduction with mostly downhill and flat terrain. After departing Lukla, you must buy your trek card for NPR 3,000 and an entry ticket for NPR 2,000. The trail meanders through dense vegetation, crossing stone walls and rivers. You will also have the option to stop at cute cafés.
Day 2: Phakding → Namche Bazaar
- Distance: 11 km
- Duration: 7 hours
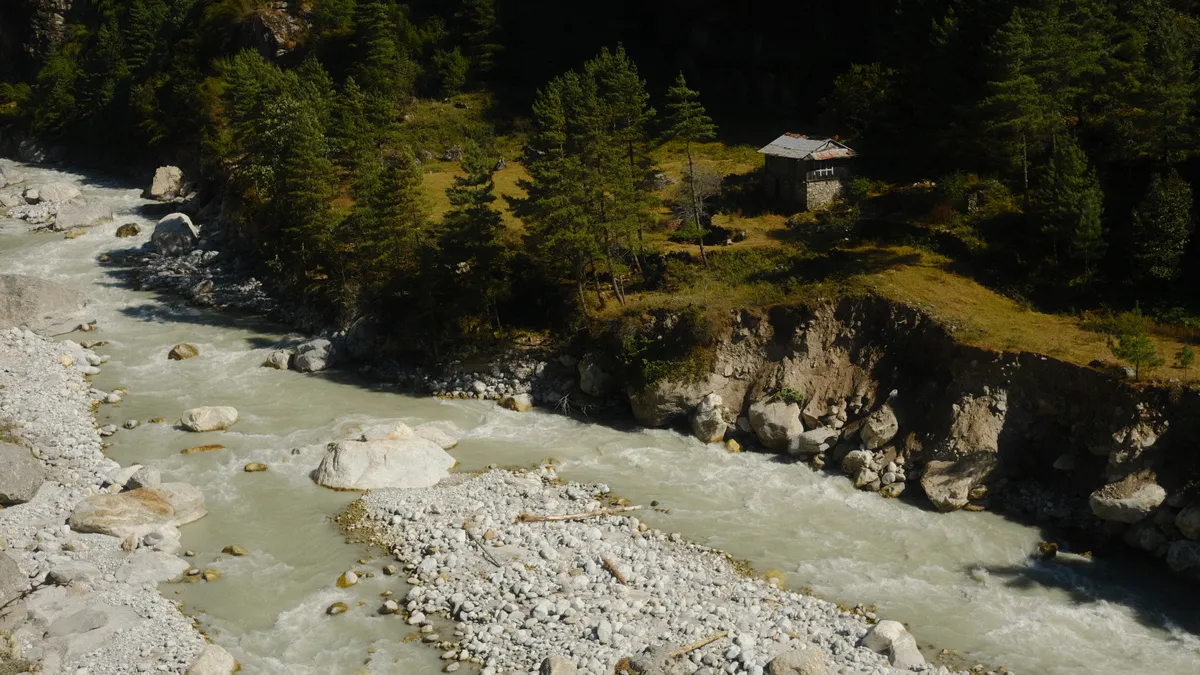
- Trail Overview: A tough, uphill climb ending at the vibrant Namche Bazaar, which sits on a plateau. The trek starts moderately but becomes increasingly challenging with constant uphill trekking - yeah it sucked.
Day 3: Namche Bazaar Acclimatization
- Take a day hike to the Everest View Hotel or explore the villages of Khumjung and Khunde.
- If you do not feel fit enough, try some of the cafés and rest
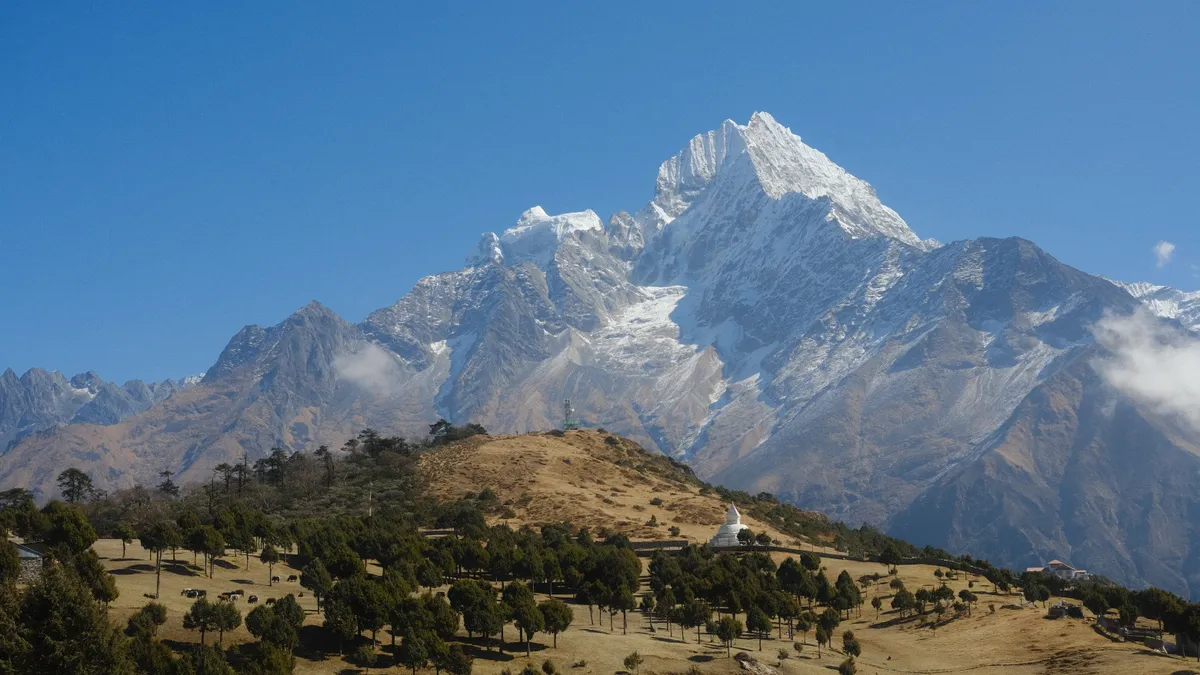
Day 4: Namche Bazaar → Tengboche
- Distance: 10 km
- Duration: 6-7 hours
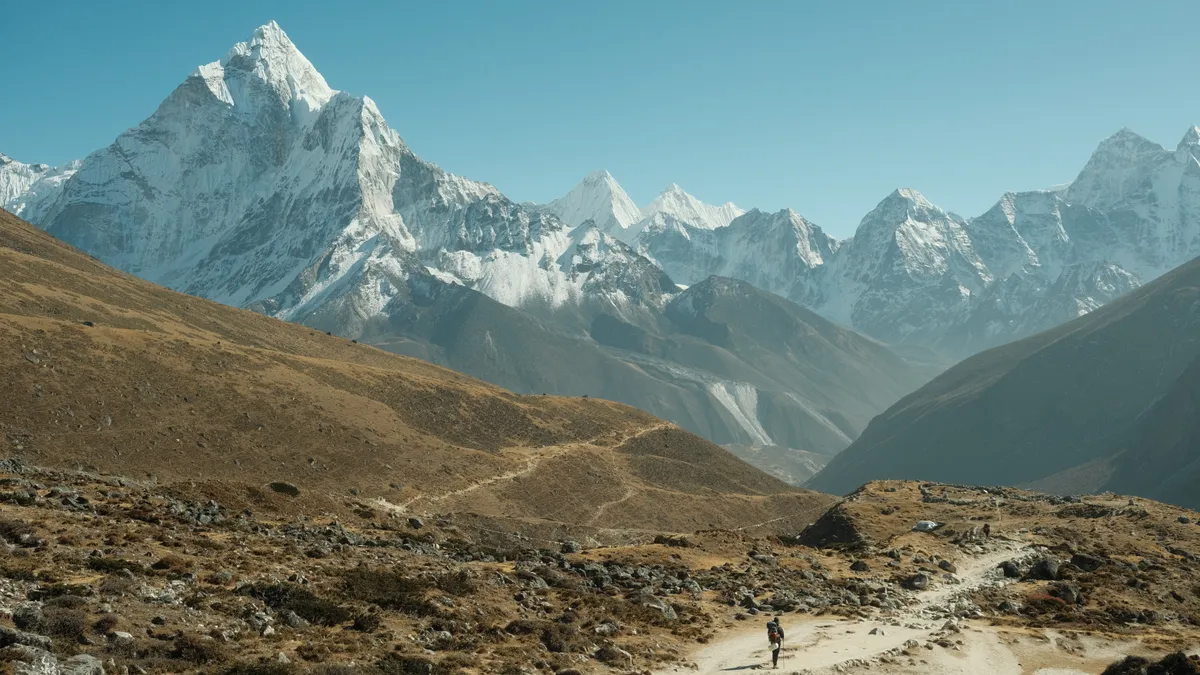
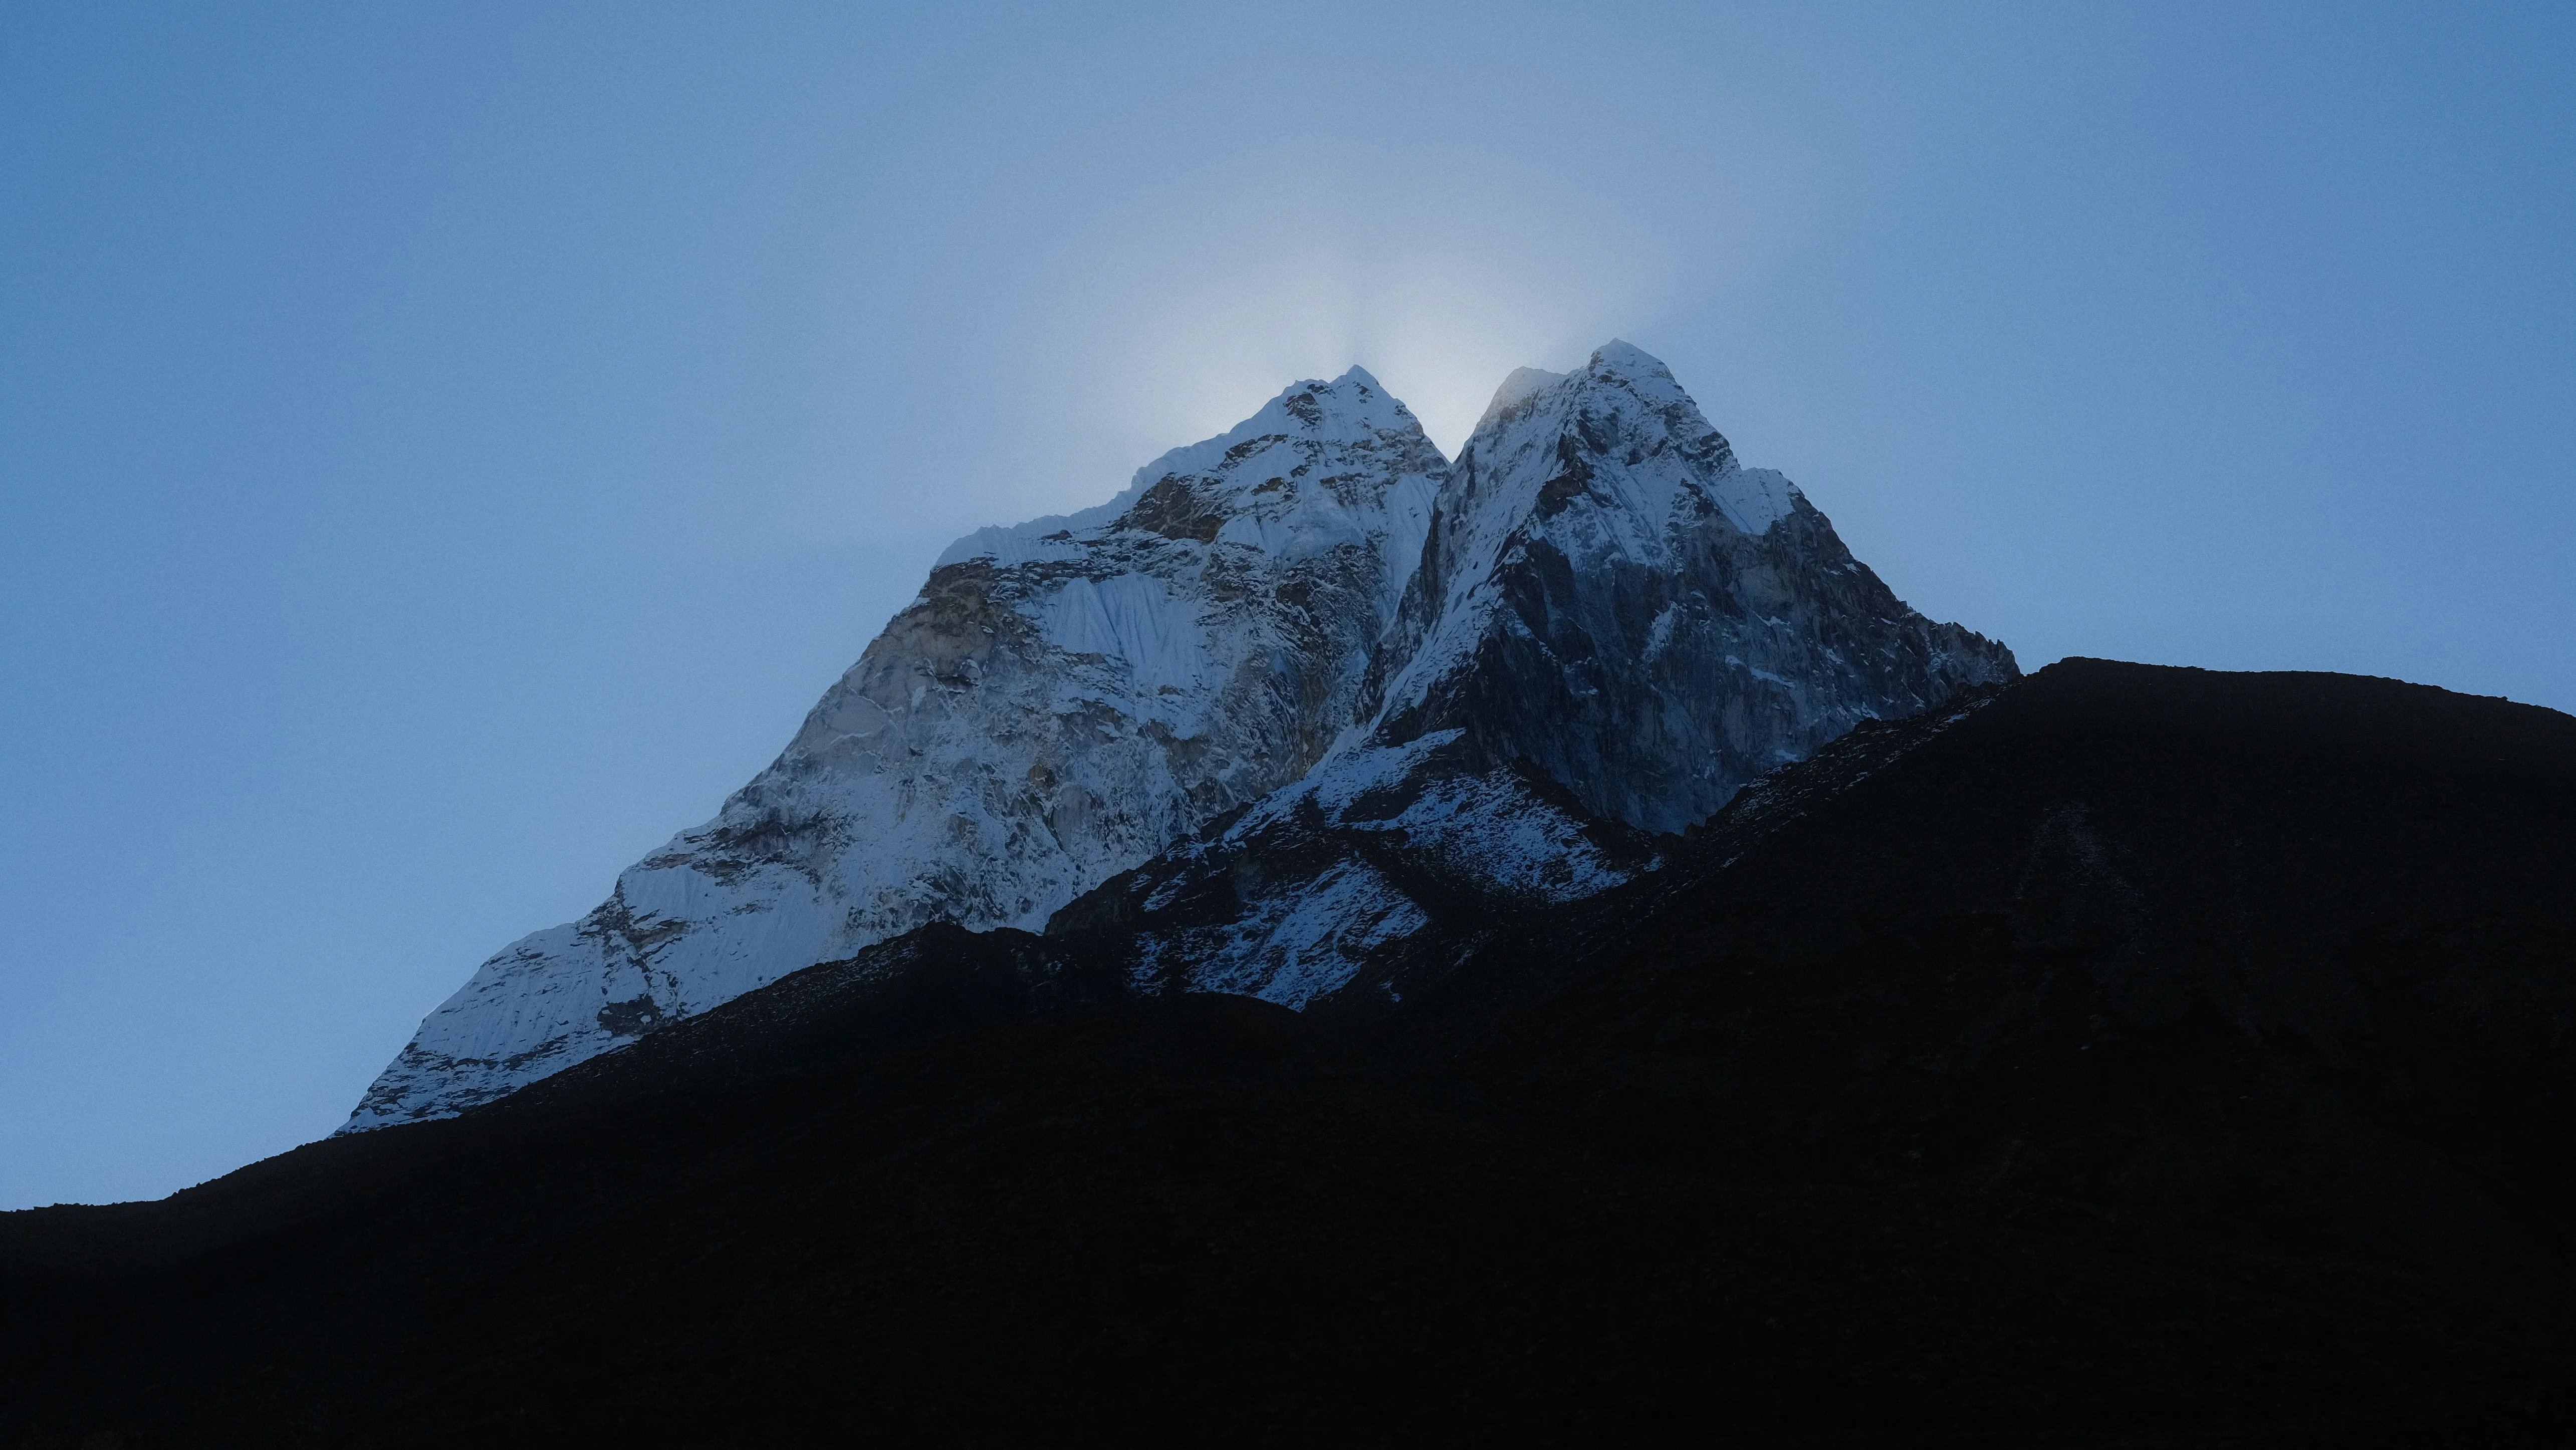
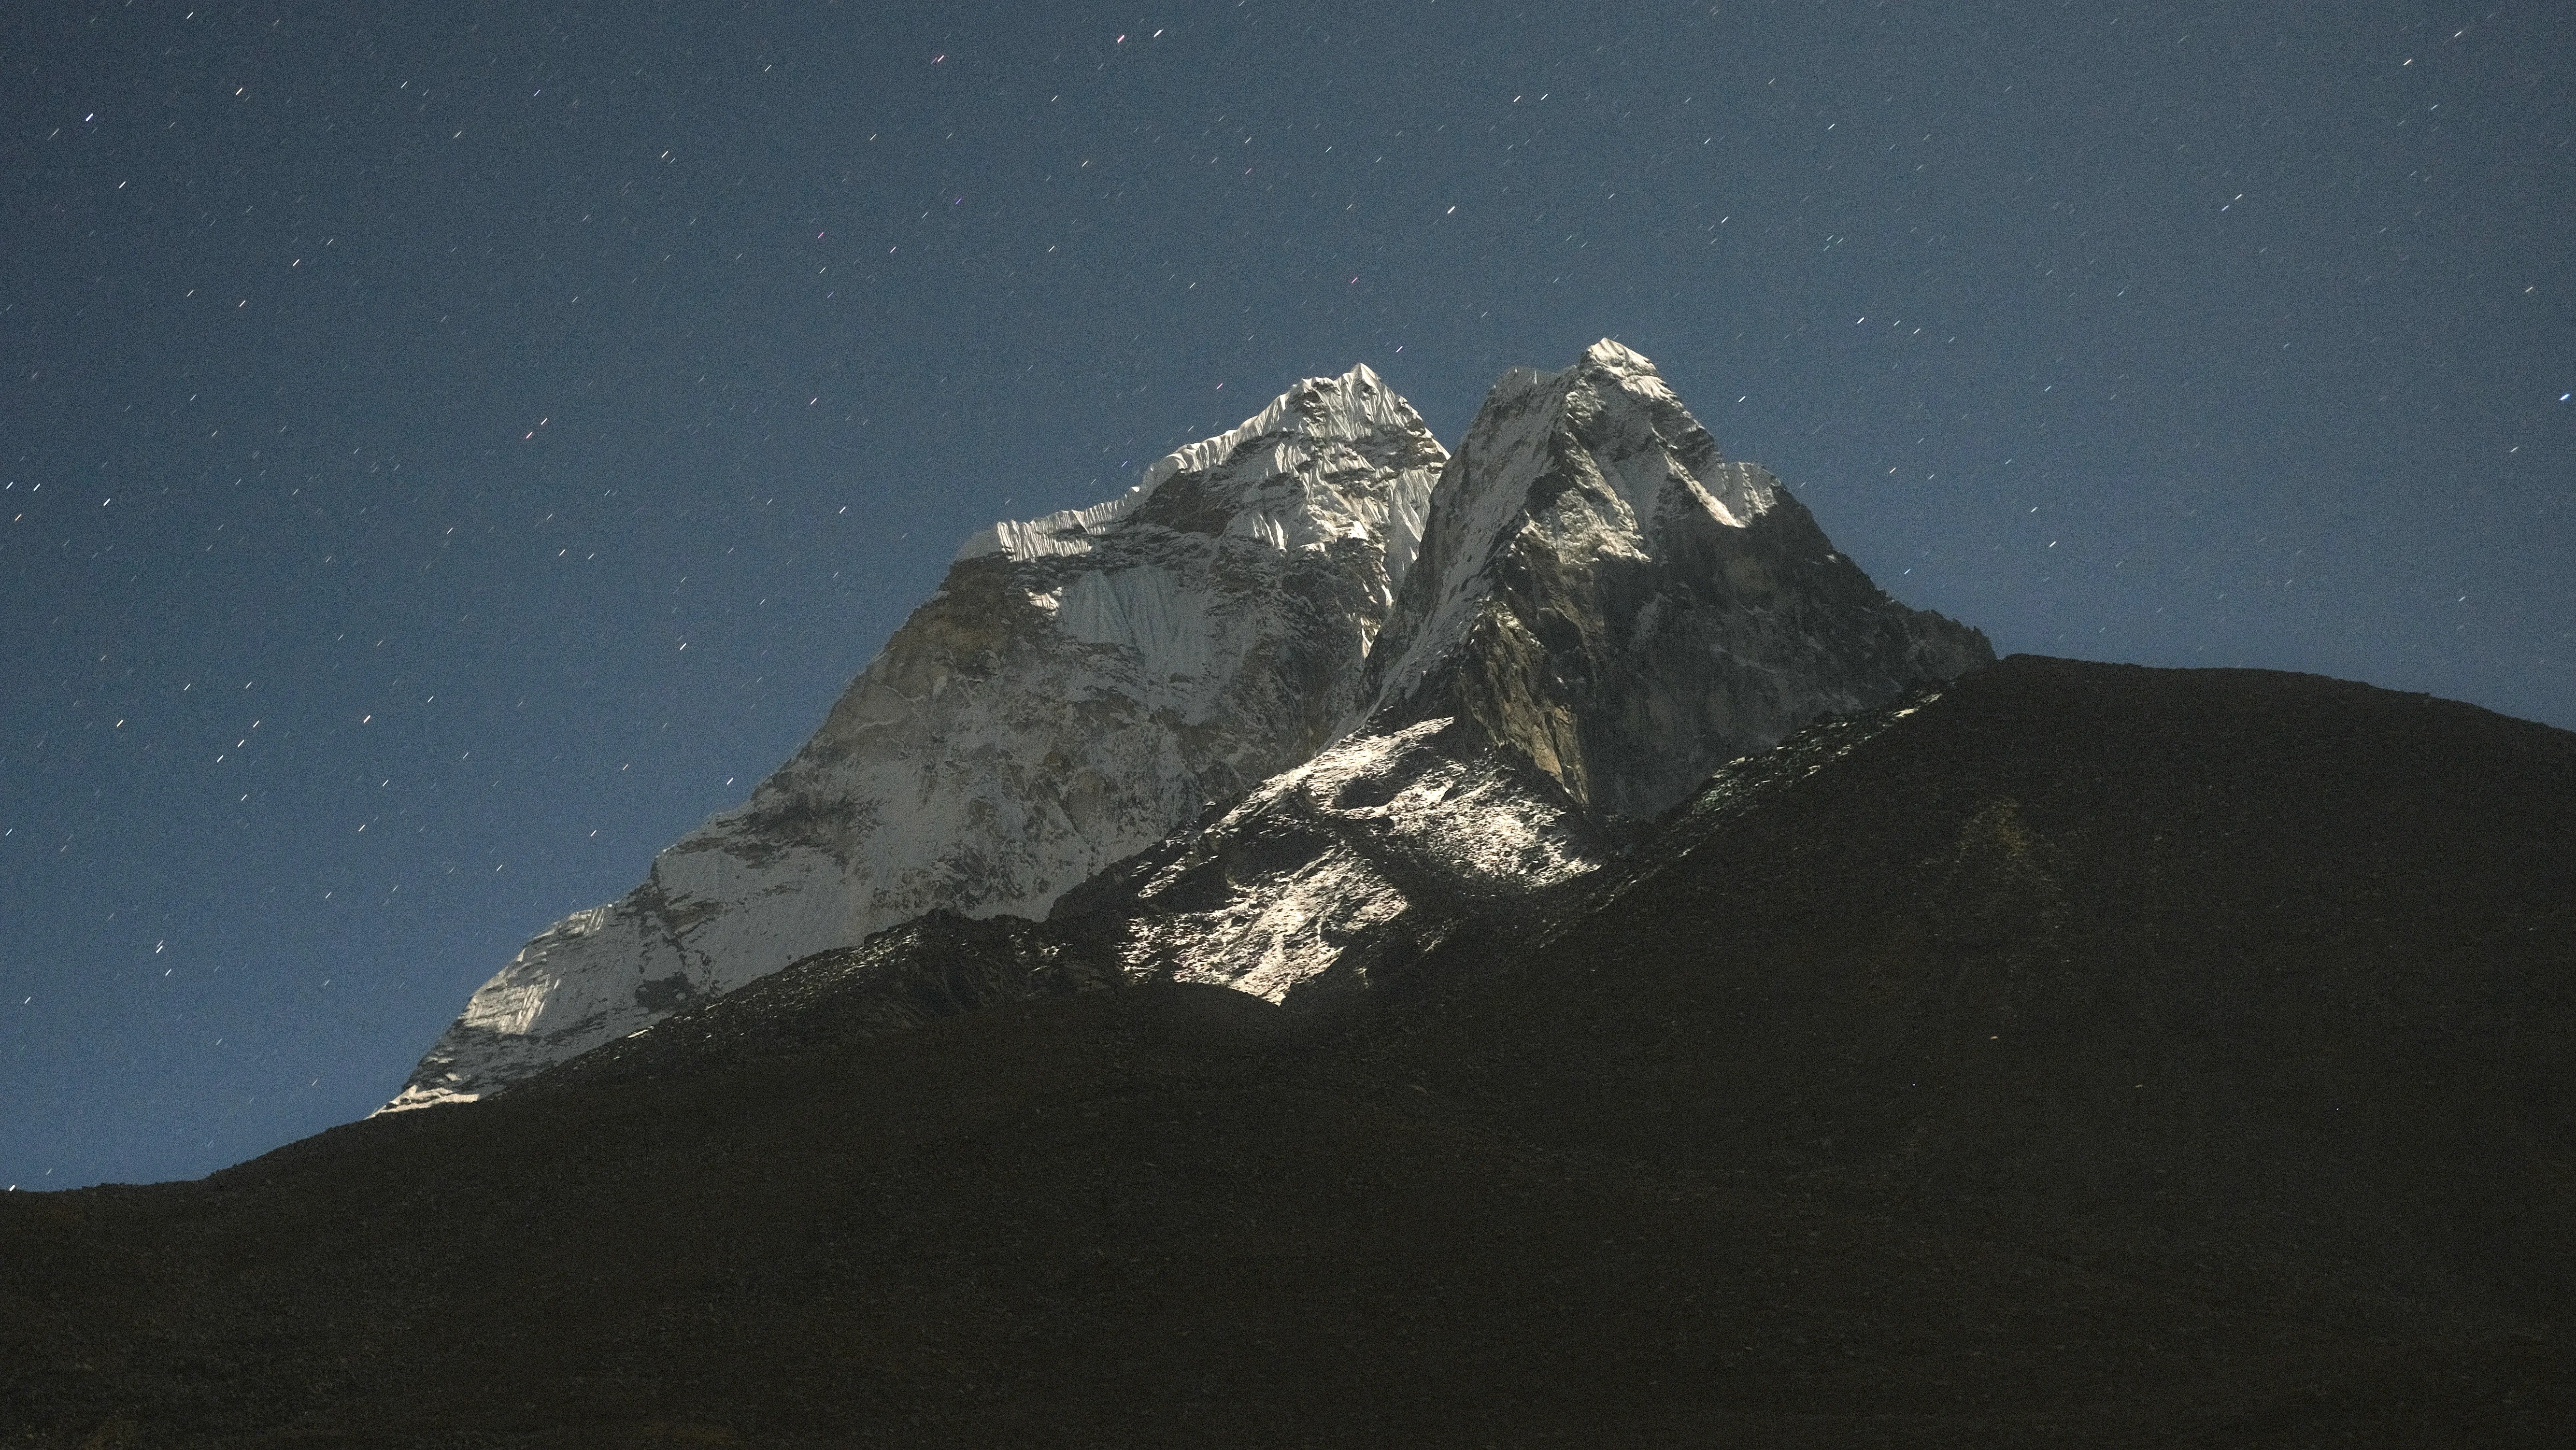
- Trail Overview: This day starts quite nicely with a good trail and low elevation changes (except exiting Namche…). Along the way you will fall in love with the views of Ama Dablam. At some point you will reach a forest though which goes straight down to a bridge. All the lost elevation will be regained afterwards in an exhausting trek uphill towards the Tengboche Monastery. Once you made it you can relax inside it and enjoy a ceremony there.
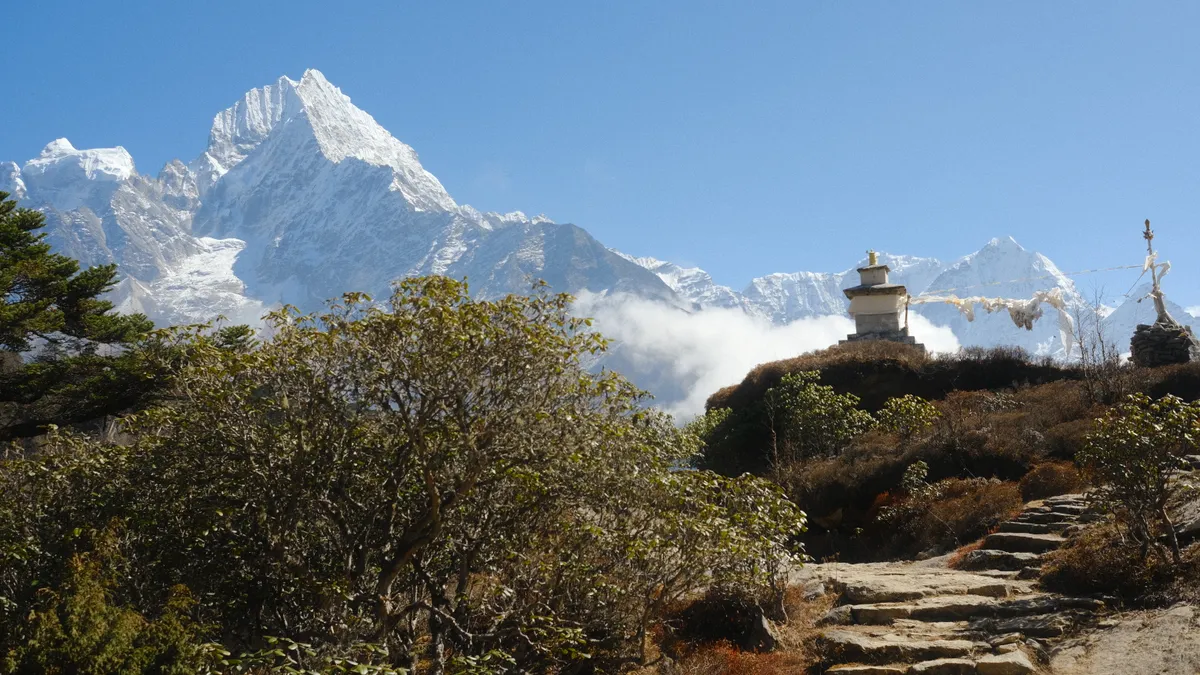
Day 5: Tengboche → Dingboche
- Distance: 11 km
- Duration: 5-6 hours
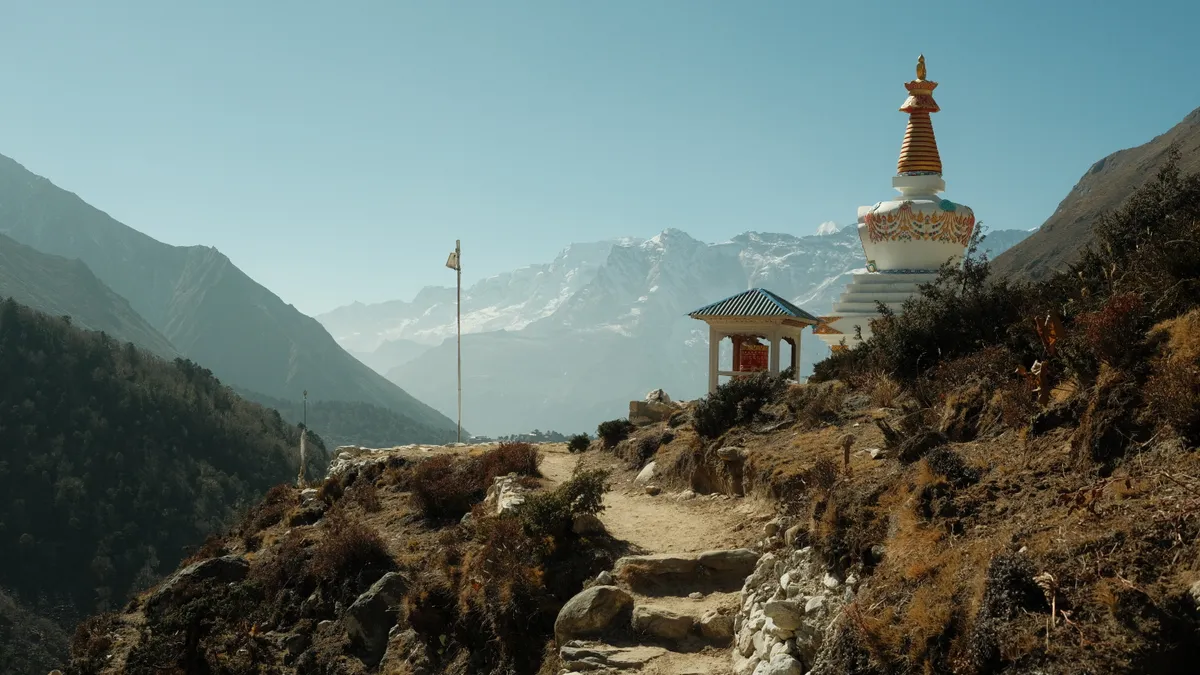
- Trail Overview: The landscape becomes more barren as you ascend higher.
Day 6: Dingboche Acclimatization
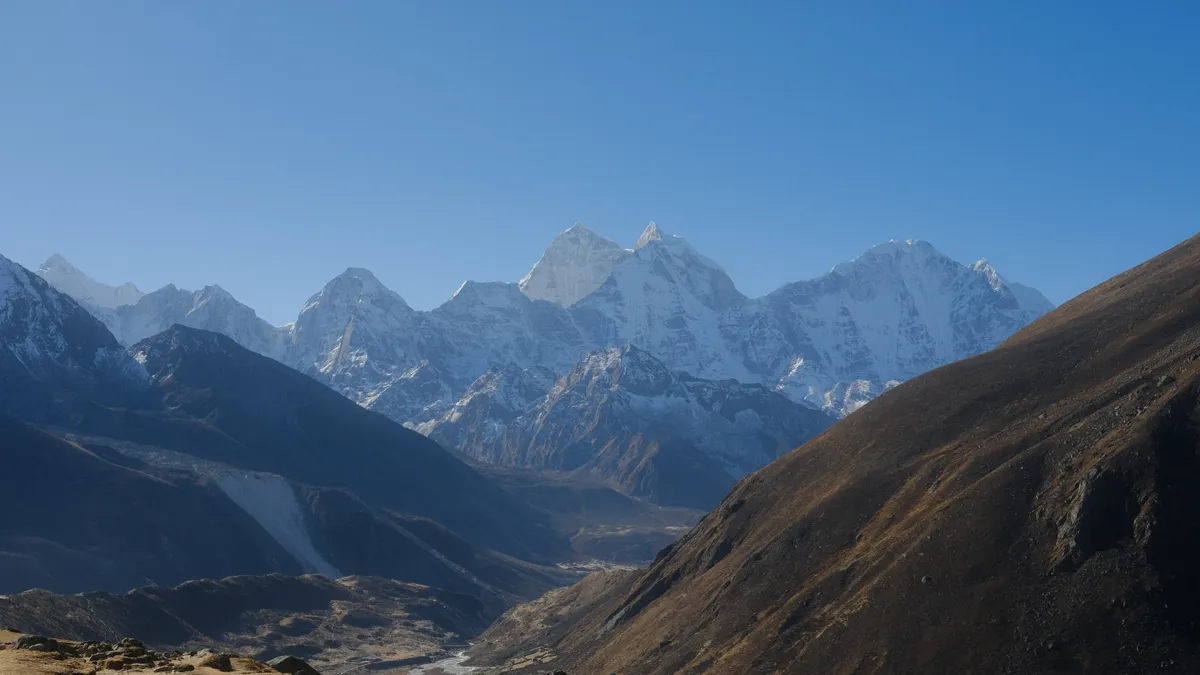
- Hike up to Nagarjun Hill for incredible views and better acclimatization.
Day 7: Dingboche → Lobuche
- Distance: 8 km
- Duration: 6-7 hours
- Trail Overview: This day starts with a roughly flat passage towards your first rest spot: Dughla. After this you will encounter a steep uphill fight until you reach the everest memorials. Once your past them the trek follows a river and just goes on and on. You won’t see Lobuche from afar but trust me: it’s there.
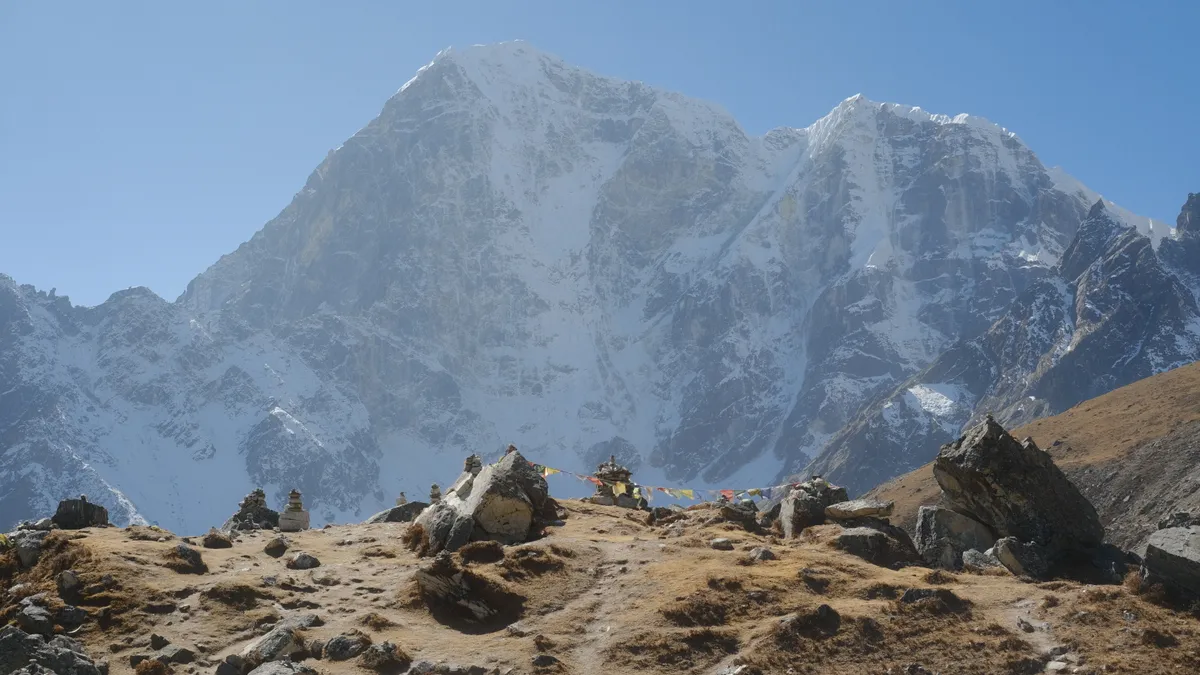
Day 8: Lobuche → Gorak Shep → Everest Base Camp → Gorak Shep
- Distance: 15 km (round trip)
- Duration: 8-10 hours
- Trail Overview: This is the day. You will traverse rough, rocky terrain towards Gorak Shep. On your right is the Khumbu Icefall. Just endure and enjoy the views. Once you reach Gorak Shep, take some lunch, leave your heavy gear at one of the rooms and head to EBC. The trail is quite easy but due to the thin air and the rocky ground you will have to push yourself. Afterwards, head back the same way to Gorak Shep.
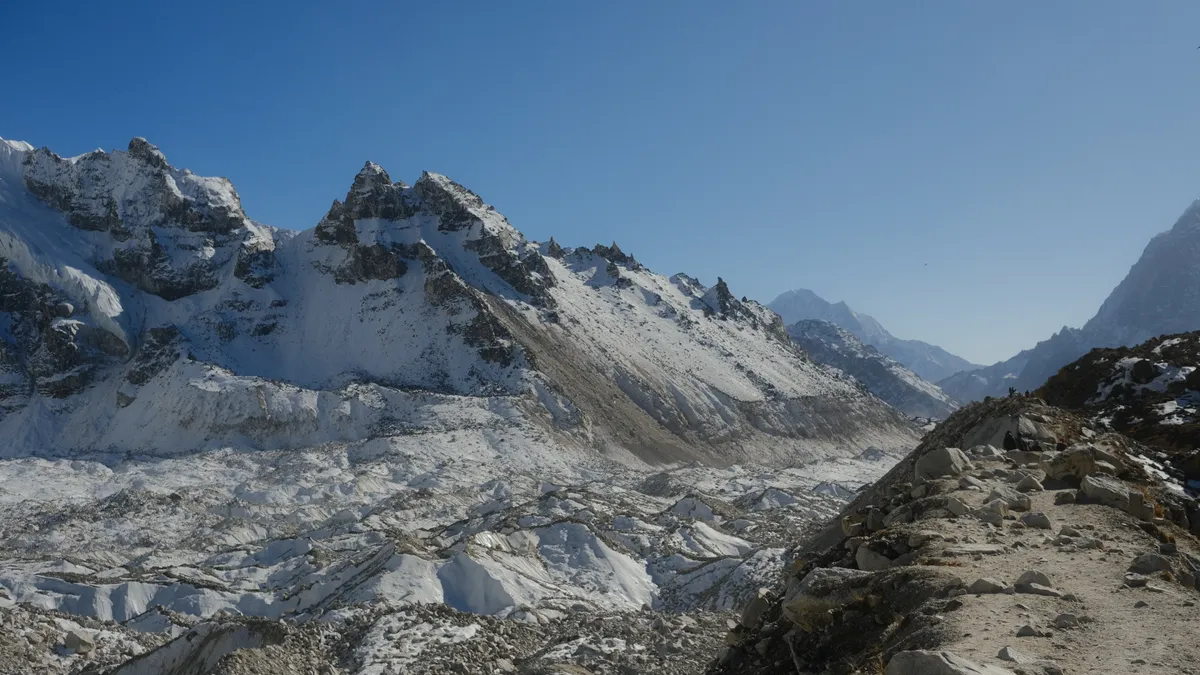
Day 9: Gorak Shep → Kala Patthar → Pheriche
- Distance: 13 km
- Duration: 7-8 hours
- Trail Overview: A steep climb to Kala Patthar at 3 AM rewards you with jaw-dropping views. Descend to Pheriche afterward. The trail to there is quite similar to where you came from. Head to Dughla and then cross the river. At some point you need to walk down a big slope in the shadow of Taboche.
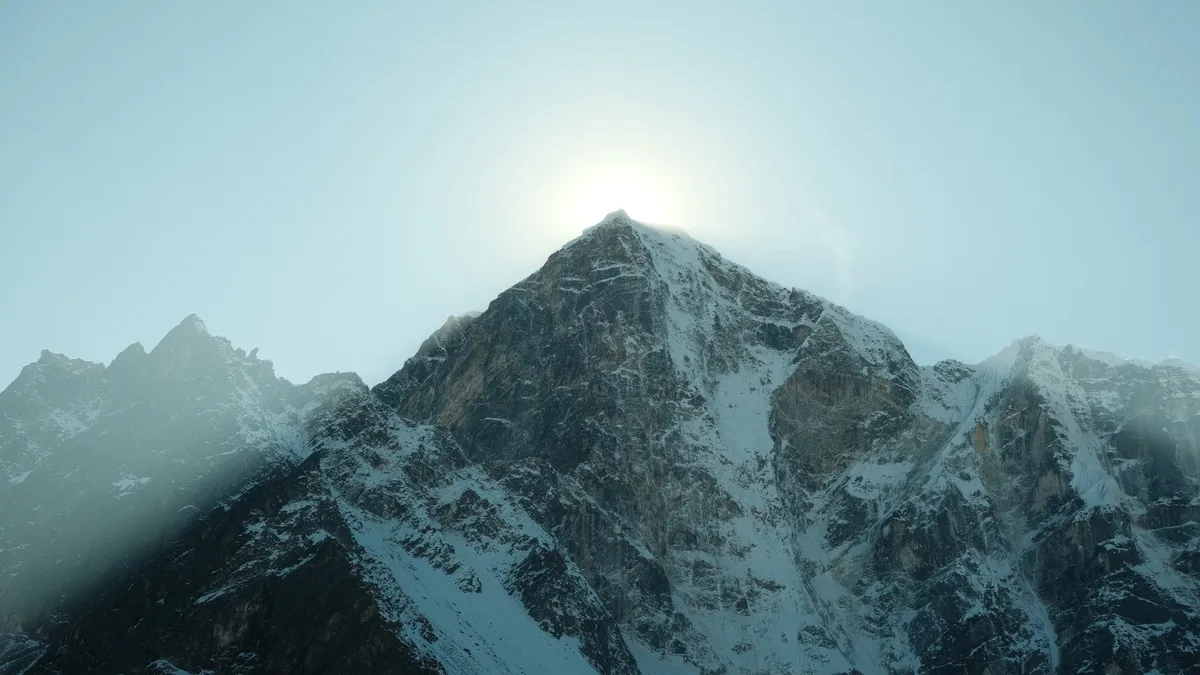
Day 10: Pheriche → Namche Bazaar
- Distance: 22 km
- Duration: 8-10 hours
- Trail Overview: A long way back towards Namche Bazaar. You will go back to Tengboche and fight your steep way down towards the bridge. Remember the long downhill passage in the forest? Yep, have fun walking it back up… After that the trail becomes easier though.
Day 11: Namche Bazaar → Lukla
- Distance: 19 km
- Duration: 7-8 hours
- Trail Overview: The final stretch back to Lukla is a mix of steep descents and some ascents, especially towards the end. It’s a challenging but rewarding day, as you return to where your journey began. Do not underestimate this though. Especially the last few kilometers will feel like an eternity and they are mostly uphill.
Day 12: Lukla (Buffer Day)
- Overview: Use this buffer day for potential weather delays affecting flights out of Lukla. Lukla’s unpredictable weather means that flights can often be delayed or canceled, so it’s wise to have an extra day built into your schedule.
Key Learnings and Tips
- Start Early: Begin your trek by 7:30 AM each day to secure lodging in the next village.
- Buy a Map: It will give you something to do and also helps you to plan your hike. We bought one in Kathmandu and kept it as a souvenir.
- Travel Light: You’ll appreciate a light pack on those steep climbs. If you find something is unnecessary, leave it in Namche or another place where you’ll return on your way back.
- Altitude Sickness: Don’t push through symptoms. Descend if you feel unwell. You will however feel the pins and needles could encounter weak headaches at some point. If these do not go away after using Diamox and a lot of drinking: descend.
- Buffer Days: Build extra days into your itinerary for weather delays or acclimatization. You may need to descend due to altitude sickness, and buffer days help accommodate this.
- EBC Flights: Book Lukla flights early in the morning to increase your chances of flying out on schedule. Waiting times are common, so be patient and flexible. You may also be able to catch an earlier flight on your return if you ask at the airport and are willing to wait.
- Hospitals: There are a few hospitals along the way. If you need them, you should/ could go there. Remember to check before the trip if your insurance covers them though because some have clauses that do not cover alpine hiking above 3.000m.
- Crampons: You probably won’t need crampons unless you’re trekking during the off-season or anticipate icy conditions.
Final Thoughts
Hiking to Everest Base Camp alone is a deeply rewarding experience. While the base camp itself may not be the highlight in my opinion, the journey to get there is unforgettable. The sense of accomplishment, the breathtaking landscapes, and the camaraderie of fellow trekkers make it all worthwhile. And don’t miss Kala Patthar—it’s the true crown jewel of the trek.
Pack light, take it slow, and savor every step of this once-in-a-lifetime adventure.
